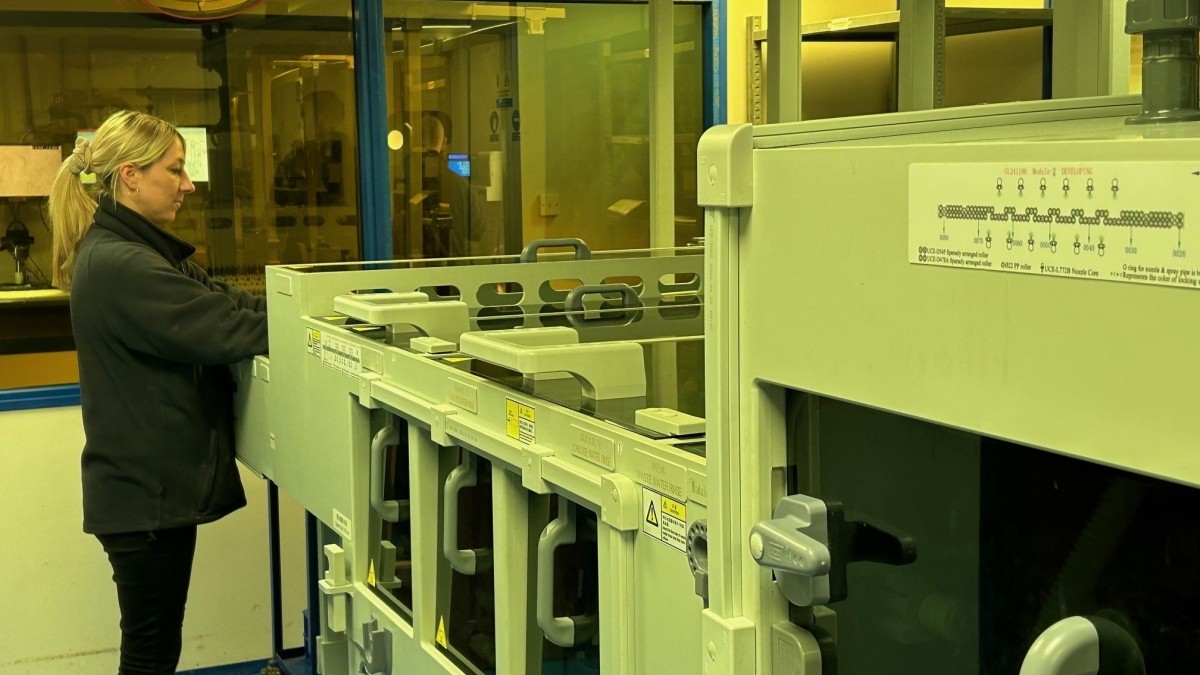
Photo etching is the process of using ultra-violet light to fix an image onto a sheet of metal, and then using chemicals (etching solution) to etch the shape into the metal, removing more and more of the material until only the shape is left – a metal component that is far more precise than anything that can be cut or machined.
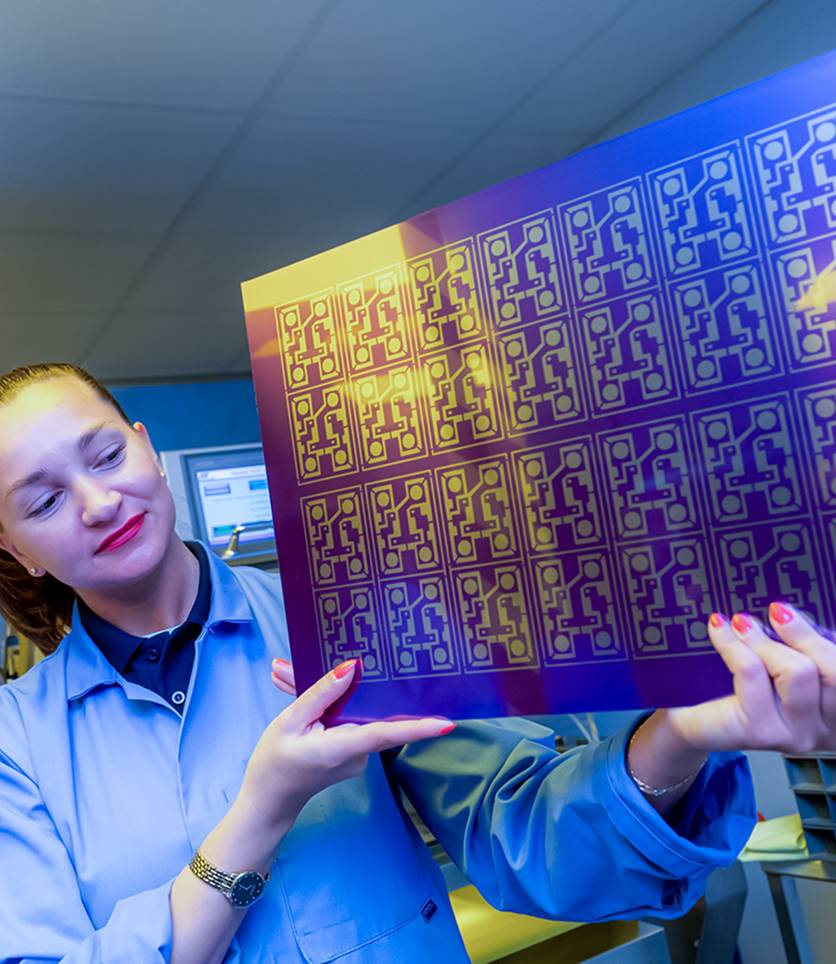
Using our chemical manufacturing process, ACE have changed what is possible, providing a level of detail and quality that leaves our competitors standing.
Photo etching is a very precise method of metal cutting and etching that uses specially formulated acids such as Ferric Chloride (FeCI3) to produce designs on flat sheets of metal with thicknesses up to 2.5mm. Due to the nature of this process, it is possible to photo etch parts with an unrivalled level of complexity, incorporating special features, in most metals, with thicknesses ranging from 5 μm to 2.5mm.
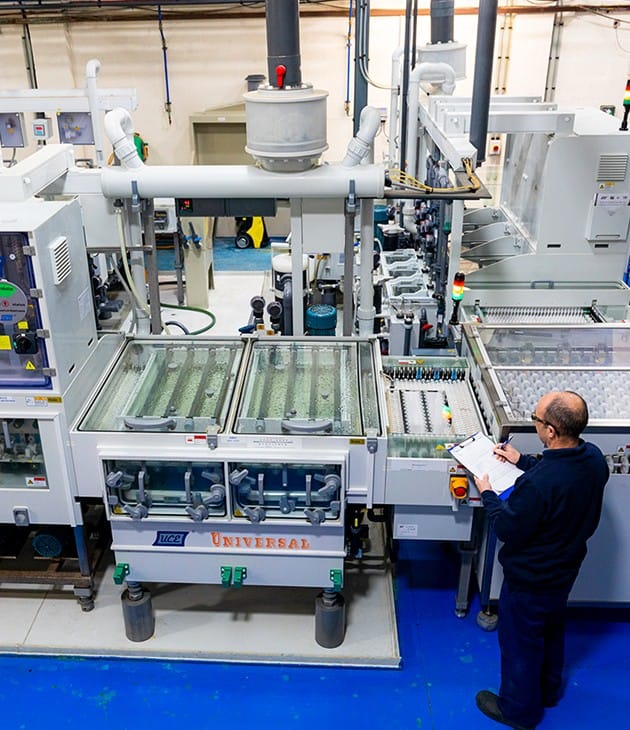
Go-To Process
Low set-up costs and incredibly fast lead times make copper etching a go-to process in batch sizes of ones to millions.
Any Complexity
Component features are etched at the same time so part/feature complexity is not an issue. The complexity of the profile does not affect the price… to process thousands of apertures or just the one, the price remains the same.
Right First Time
No heat or force is used when acid etching copper and its alloys, so the mechanical properties of the metal remain unaltered and parts are free from stresses and burrs.
Low Cost Tooling
The tooling for copper etching and its alloys is digital, low-cost and can be modified quickly. Many customers select copper etching because of the flexibility it provides for supplying samples in days rather than weeks or months.
Only ACE can consistently supply photo etched parts manufactured with the unrivalled consistency, demanding tolerances and cost reductions we can offer to our customers.
Traditionally, processes employed in metal profiling to produce metal parts and components have included stamping, punching, laser and water jet cutting. These methods impart inevitable stress on the material, and can result in distortion, burrs and surface imperfections, leading to a loss of integrity and quality in the finished component. Hard tooling methods can involve long lead times, especially when alterations are required, and costs that scale quickly as design complexity increases.
ACE's photo etching process allows for the highest possible level of flexibility and complexity at the best price – and produces a product of the same consistency and quality from the first etching to the last, without the characteristic drawbacks of other cutting methods.
Photo etching is the future of metal components design and manufacturing. It is a much more consistent process with tighter tolerances than are achievable through traditional machining or stamping.
Photo etched parts are metal components that have been 'etched' or eroded out of sheet metal (such as stainless steel, titanium, aluminium and more,) using a highly controlled chemical process. Unlike stamped parts, photo etched parts have not had their mechanical properties altered by stress or heat. This makes photo etched parts uniquely suitable for use in precision engineering applications where the chemical and mechanical properties of the component must be tightly controlled.
At ACE we advance the photo etching field by continuing to develop our own state of the art photochemical etching processes. This includes our unique titanium etching solution that is safer and does not use dangerous, corrosive chemicals like hydrofluoric acid (HF). Read more about our TiME etching process used to create titanium photo etched parts as well as our research-based approach to etching technology innovation.
Photo etching is normally performed in a series of eight steps:
photo etched parts have a smooth surface etch profile
±10% of material thickness
aspect ratio possible
up to 1500mm x 600mm
at no extra cost
from 0.07mm to 2.5mm
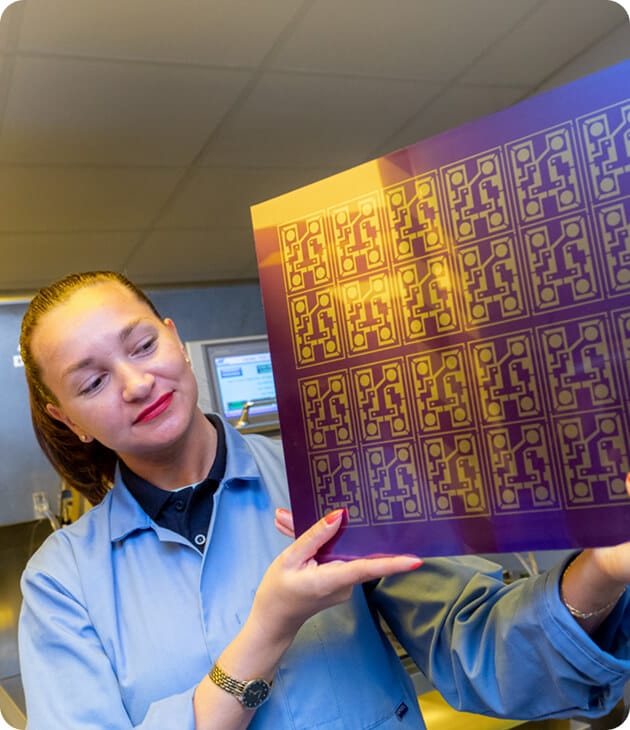
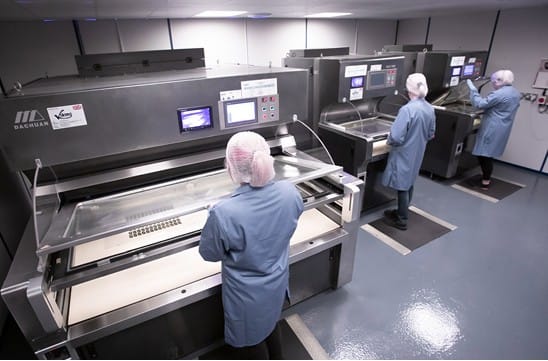
In this fast-moving manufacturing age, ACE has a proven track record of developing photo etched parts. We are constantly creating innovative chemical etching techniques and manufacturing millions of etched components every year in 2000 different metals and in thicknesses of five microns to 2.5mm.
Our team of technical experts are ready to advise on standard products for your sector or bespoke components that meet a specific technical application. Contact ACE today to see how we can help you achieve your manufacturing targets, on time and on budget.
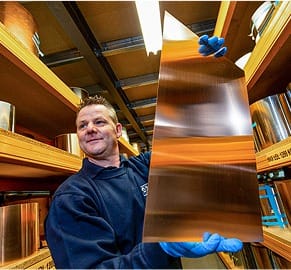
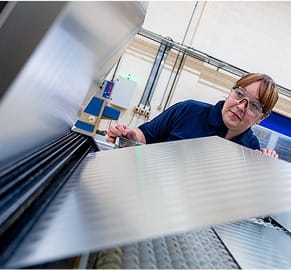
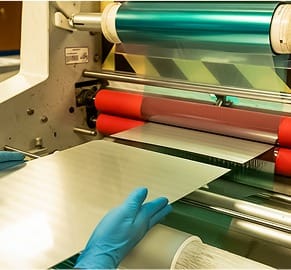
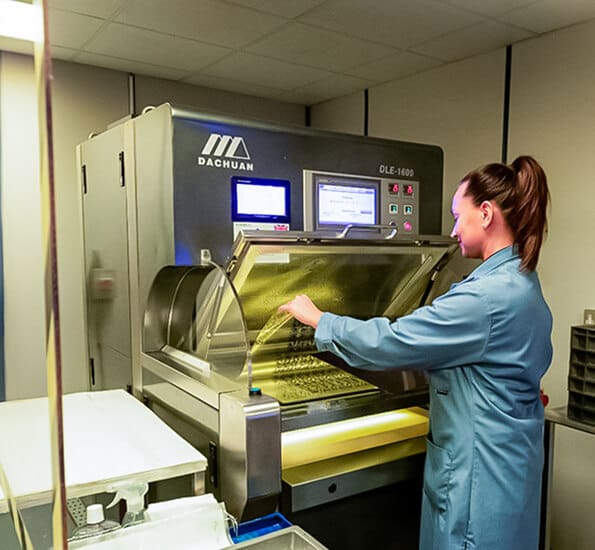
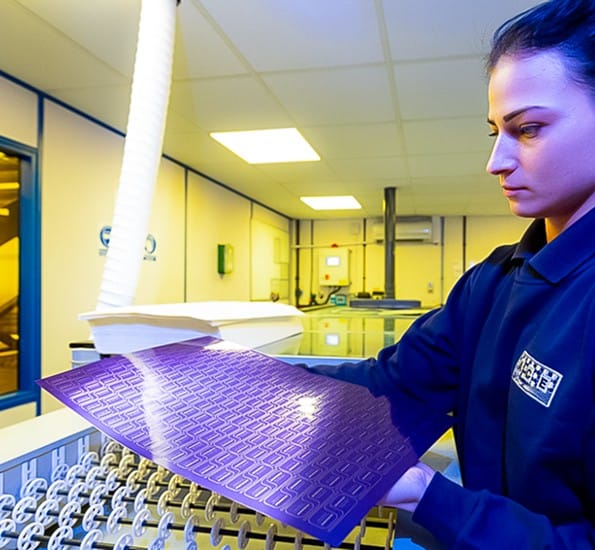
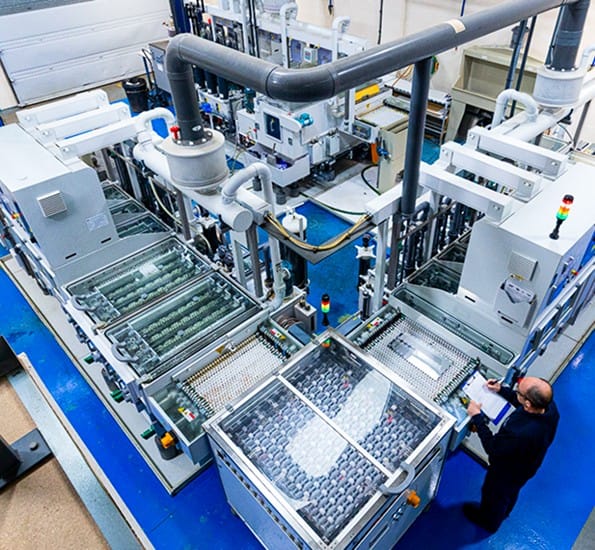
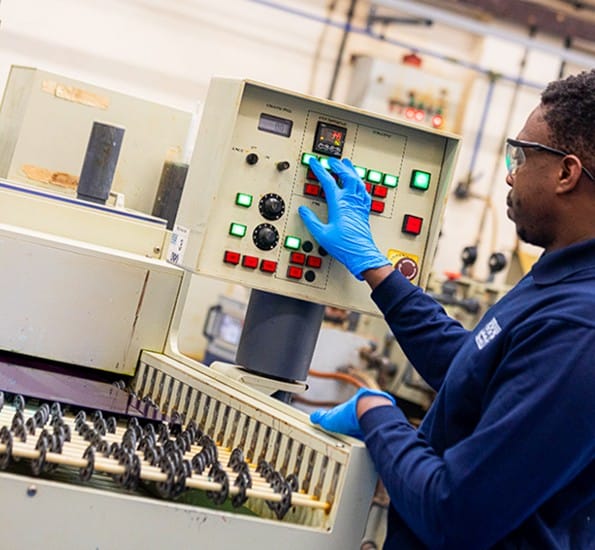
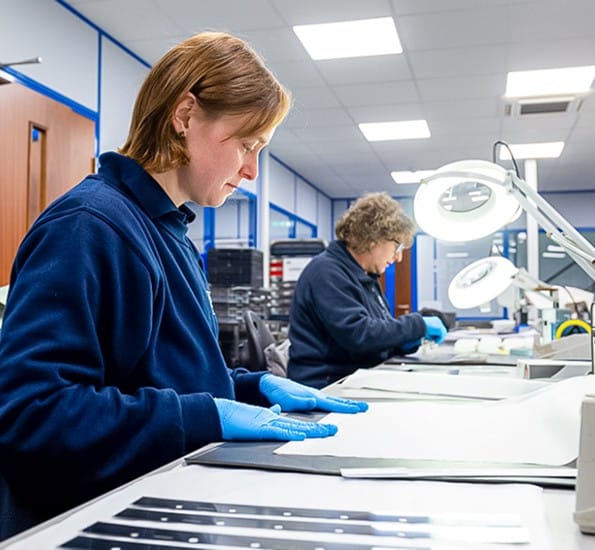
Photo etching is simply the name given to the process of using light and photo-tools to fix the image of the component to be etched. Photo etching can be used interchangeably with terms including chemical etching and chemical milling, although those terms may refer only to the chemical process of etching.
At ACE, we combine cutting-edge chemical etching technology with decades of expertise to deliver precision metal components.
Whether you're an experienced engineer, new to metal etching, or just curious about what we do, we’ve got you covered.
